Printing Functions
AB Walls generates all the output as a .PDF file. This can be viewed and printed by yourself and others using a .PDF reader such as Adobe Reader.
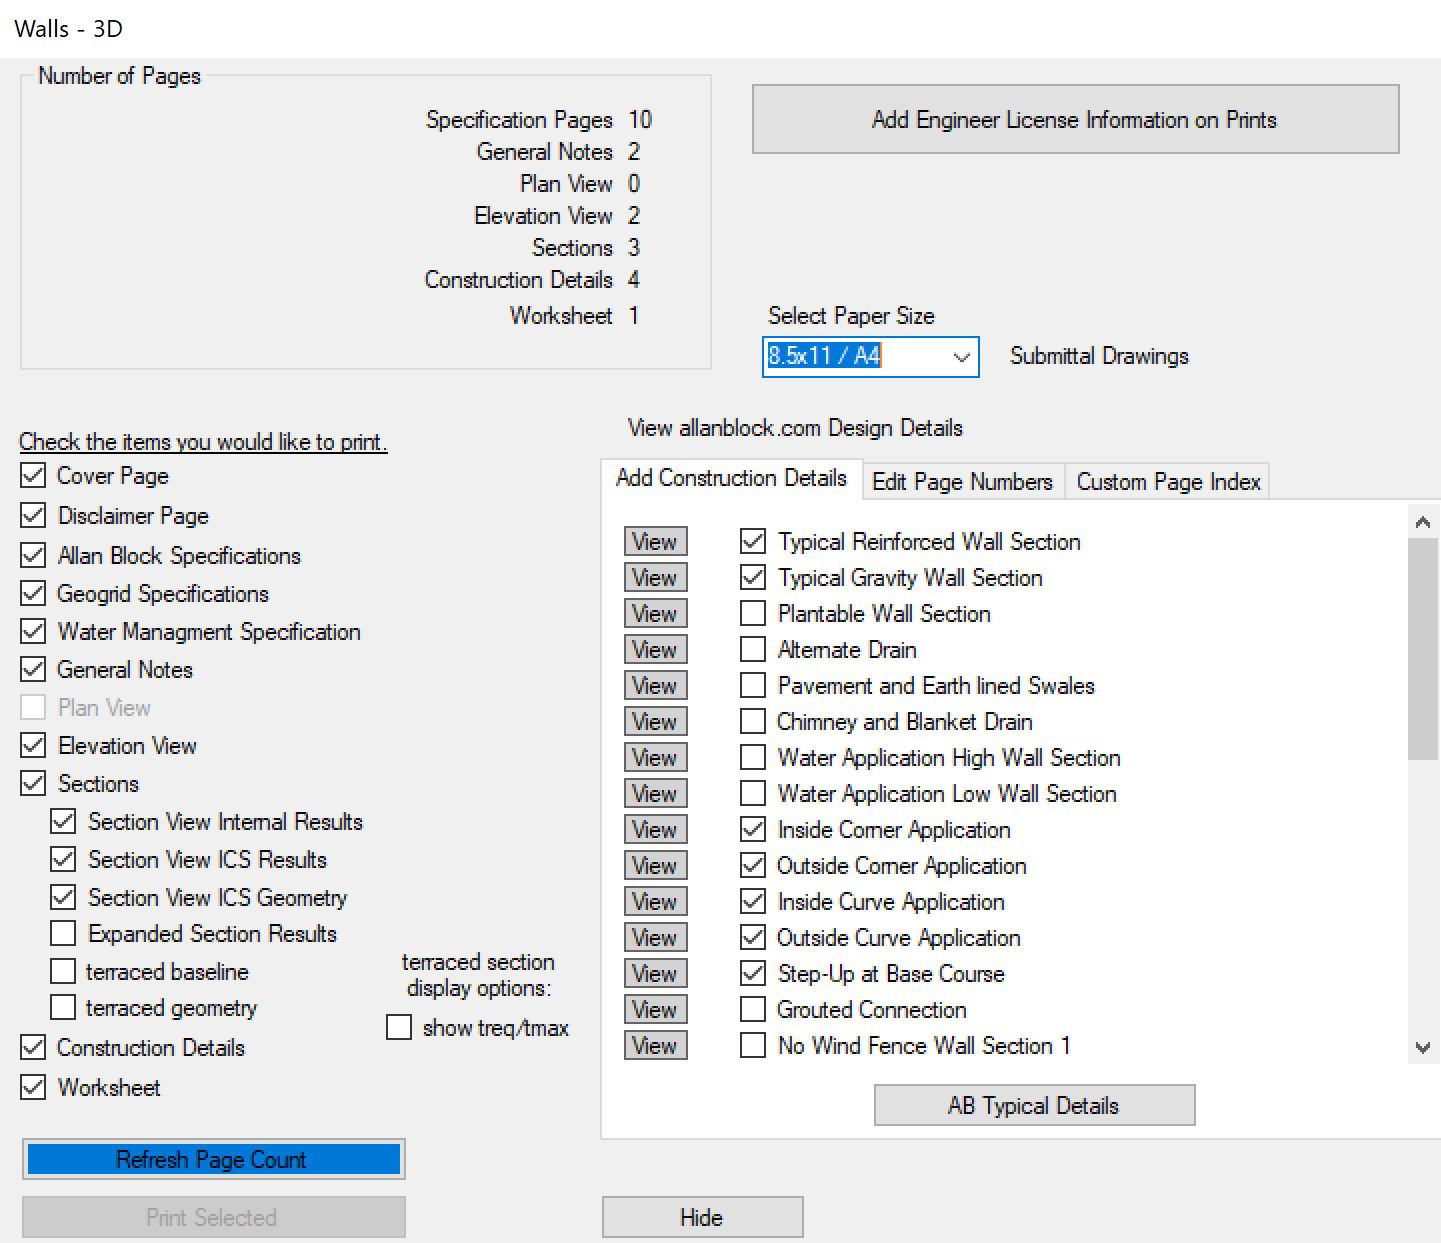
The main printing page allows you to check the boxes for the items you would like to print. Simply uncheck the boxes for the items you do not wish to print. Once the desired items are selected, click the Print Selected button for the .PDF document to automatically generate and open the file for your review. These prints can be in the format of 8.5x11 / A4 paper size or 11x17 / A3 paper size.
When printing the sections, simple select the starting section and ending section number and those sections will print.
When printing the elevation, the default number of pages will be calculated to display a maximum of 100 ft (30.5 m) per page. To change this, simply change the number of elevation pages to the desired number. Keep in mind that the fewer pages, the smaller your elevation view may become.
If you would like to customize your page numbers, check the box for Manual Page Numbers and update the required start pages for each of the items to print.
All the construction details that are posted on allanblock.com may be printed from AB Walls. To select the construction details that apply to your project, click on the Add Construction Details tab and check the details that you would like included in your output.
The final tab pertains to customizing the Page Index on your Cover Page. Input any text within this field, check the box to use the custom information, and it will be displayed instead of the default page index.
Professional Engineer Information Form
Professional engineers with the engineering password may include their license information on the prints. To do this, click on the Add Engineer License Information on Prints button on the printing page.
The signature block may be modified by changing the default information and clicking the Update Signature Block button. You may also choose to exclude parts of this signature block by removing the checkmark from those areas.
License information can be added to AB Walls by entering the information in the yellow fields and clicking the Add button. To modify existing information: select the license from the list, change the desired yellow field, and click the Save button. Click the Clear button to clear all the entries from the yellow fields and remove any stamp from being displayed on the prints.
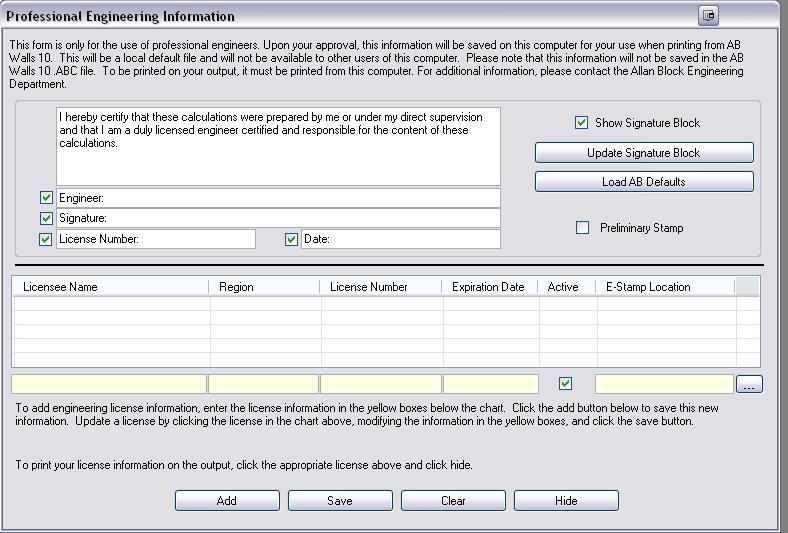
Click the Hide button to save the information and continue printing your project.